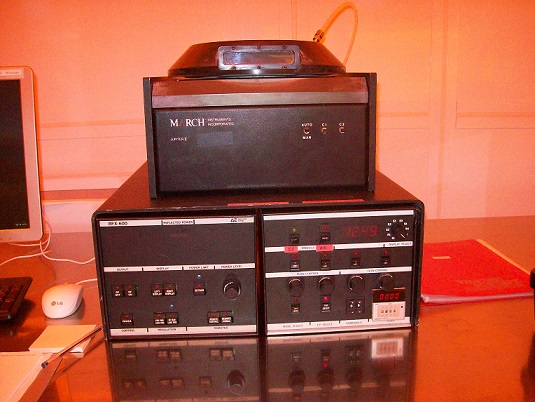
Updated on 3/6/2019

1 Check-in
2 Load Sample
3 Set parameters
3-1 Power setup
3-2 O2 gas flow setup
3-3 Air gas flow setup
3-4 Multiple (O2 and air) gas flow setup
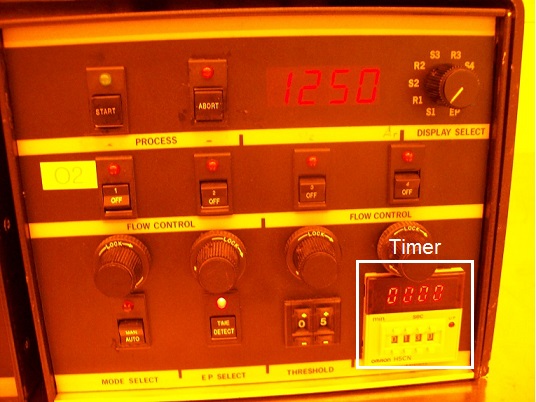
3-5 Set timer
4 Start process
5 Unload Sample
6 Check Out
Note:
1. Log-in on the IRIS scheduler
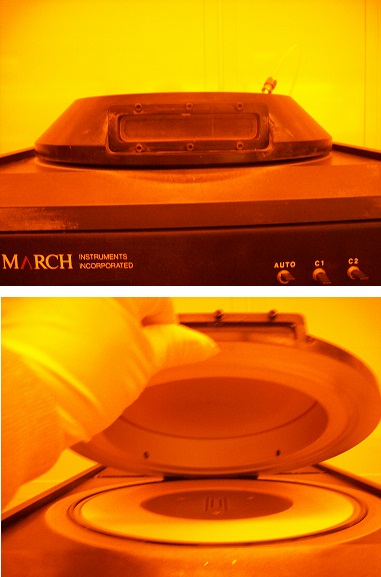
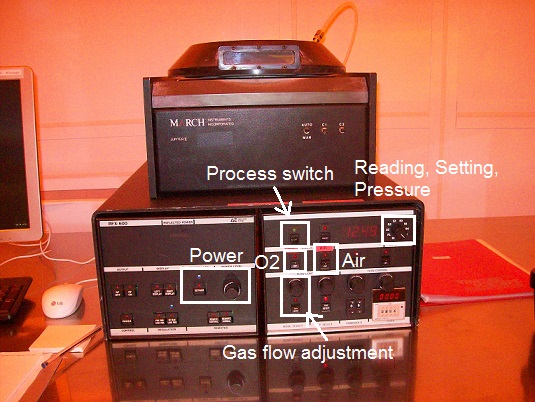
1. Open the lid.
Note: The chamber is already vented.
2. Load the sample in the chamber.
3. Close the lid.
Note: The chamber will automatically be pumped down later.
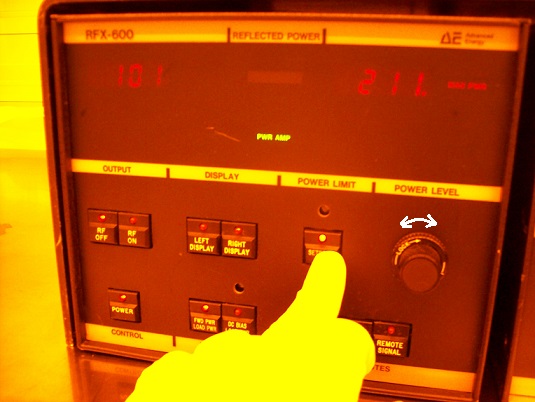
1. Setup the power level by rotating the knob while pressing the setpoint button.
You will see the power setting on the left top display.
1. Turn on a toggle switch "1".
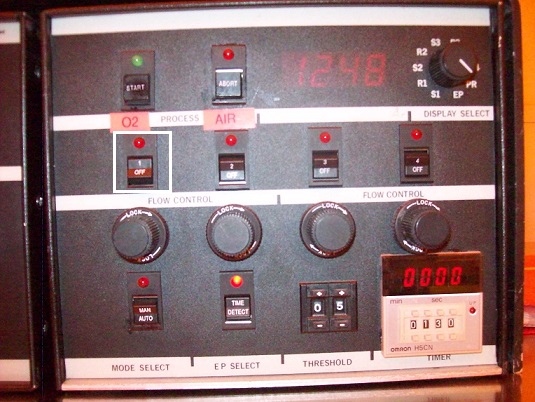
2. Dial the right top knob to S1.
Note:
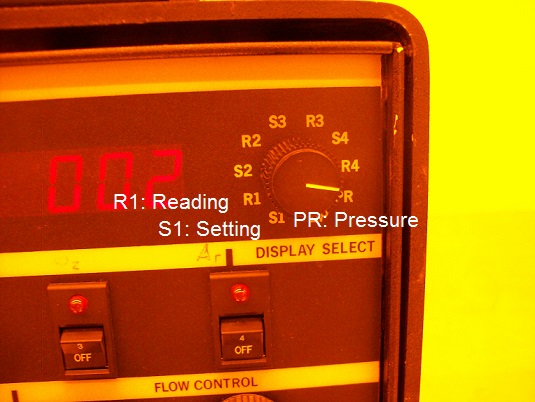
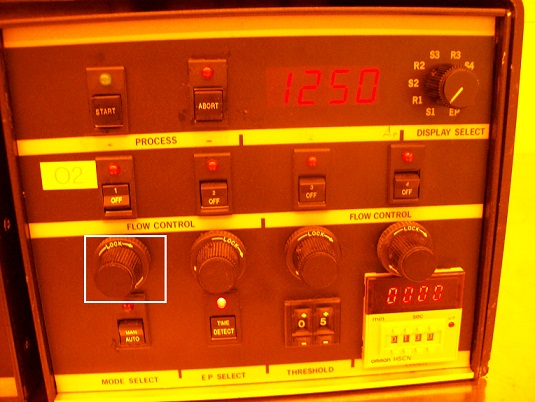
3. Adjust the O2 gas flow by rotating the flow control knob. You can see the gas flow setting on the right top display.
Note: Keep "Auto Mode" on.
1. Turn on a toggle switch "2".
2. Dial the right top knob to S2.
3. Adjust the air gas flow by rotating the flow control knob. You can see the gas flow setting on the right top display.
Note: Keep "Auto Mode" on.
1. Turn on a toggle switch "1" for O2 gas setup.
2. Dial the right top knob to S1.
3. Adjust the air gas flow by rotating the flow control knob. You can see the gas flow setting on the right top display.
4. Turn off a toggle switch "1".
4. Turn on toggle switches "2" for air gas setup.
5. Dial the right top knob to S2.
6. Adjust the air gas flow by rotating the flow control knob. You can see the gas flow setting on the right top display.
7. Turn on a toggle switches "1" again, meaning that both of switch "1" and "2" must be "ON".
Note: Keep "Auto Mode" on.
1. Make sure that "TIME" is set on EP SELECT.
2. Set the timer.
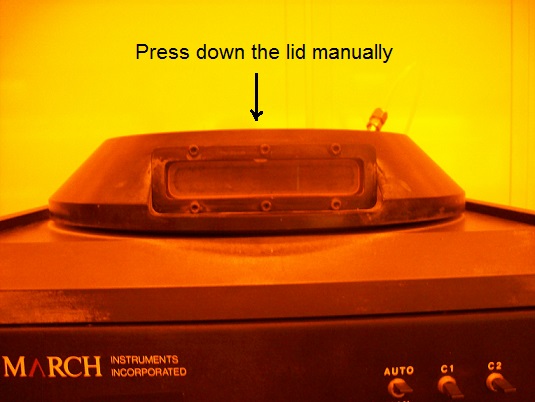
1. Press down the lid manually.
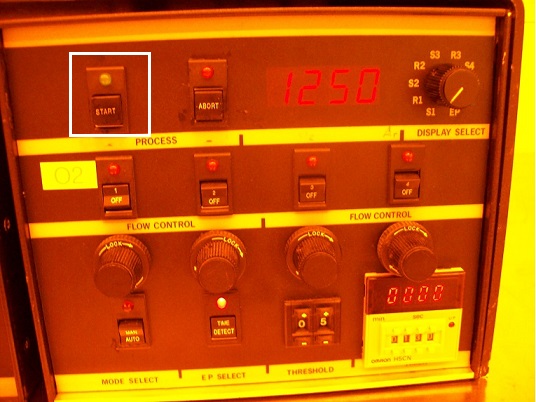
2. Press the "START" button, and the chamber is pumped down, O2 and/or air gas flows, and the O2 and/or air plasma is ignited automatically.
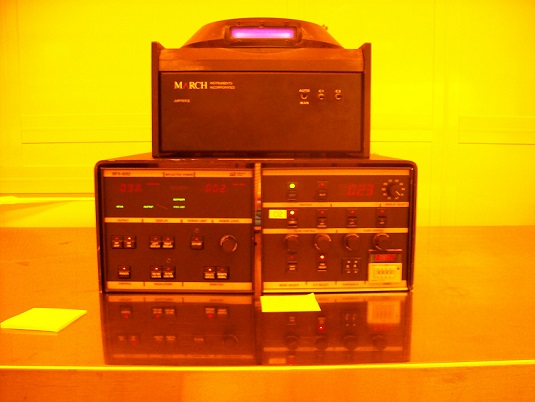
1. The chamber will be vented automatically.
2. Unload the sample
1. Log-out the IRIS sheduler.