Wafer Bonder Recipes
Updated on 10/14/2014
Contents
1 Recipe Management
2 Example of Recipe
3 Bow Pin
1. Recipe Management
1.1 Create File
1. To create your file, click the "Create new namespace" button on the right side.
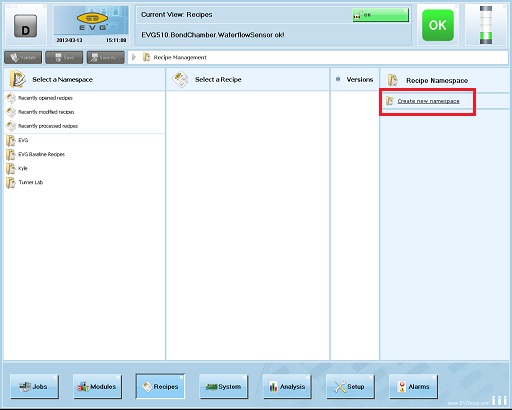
2. The "Create New Namespace" dialog box is opened.
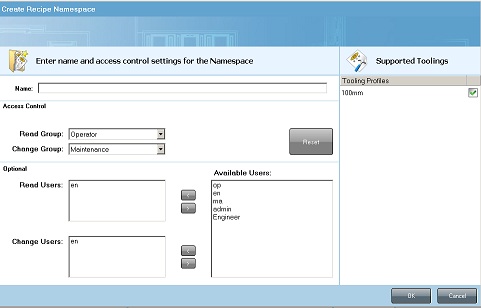
3. Type Name, Read Group, and Change Group into the boxes. Click "OK".
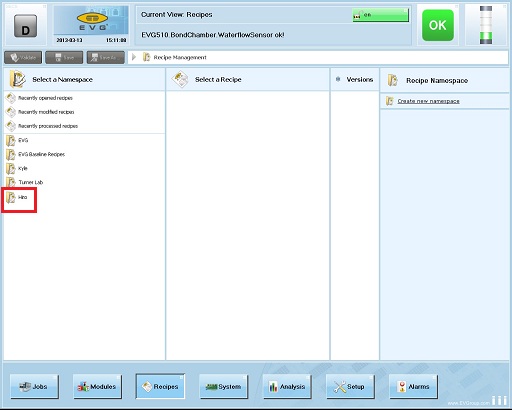
4. Your file is created.
1.2 Create Recipe
1. Click the "Create recipe in namespace".
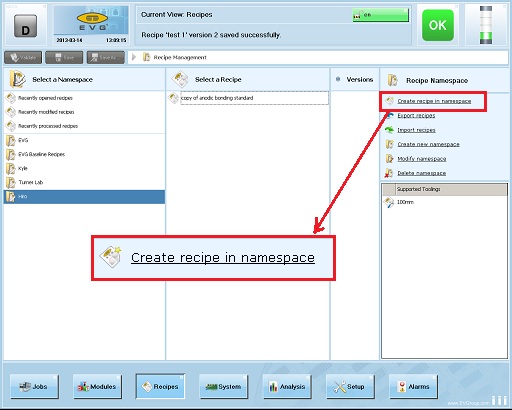
2. The "Create new recipe" dialog box is opened.
3. Type a recipe name in the "Recipe name" box.
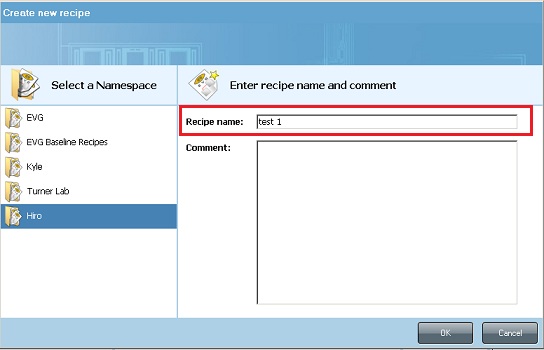
4. Click the "OK" button.
5. The following window shows up.
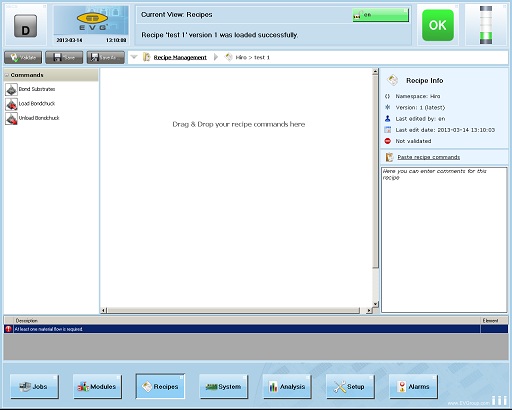
6. Create a recipe flow diagram:
- Drag and drop a recipe command from the left onto the blank field on the right to create a recipe flow diagram.
- "Load Bondchuck"
- "Bond Substrate": This contains the recipe.
- "Unload Bondchuck"
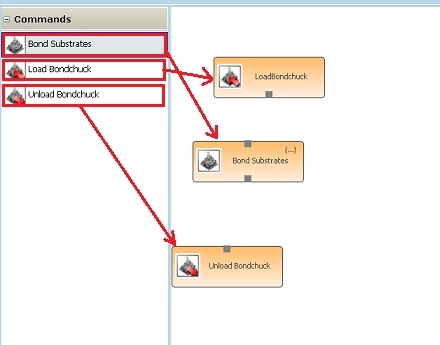
7. Connect the recipe command boxes by dragging and dropping the mouse cursor between the boxes.
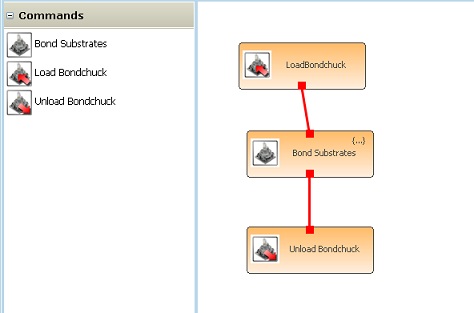
8. Double-click on the "Bond Substrate" command box.
9. The "Sequence Recipe Editor" window is opened.
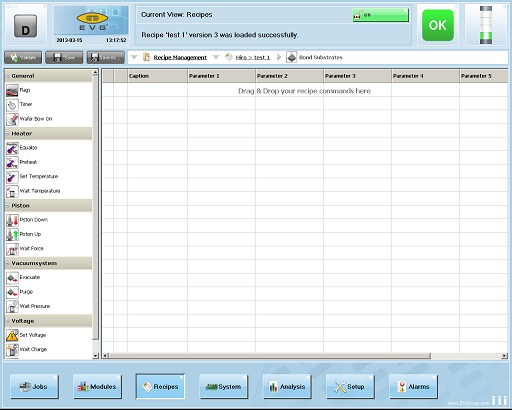
10. To create a new recipe step, drag and drop it to a blank line
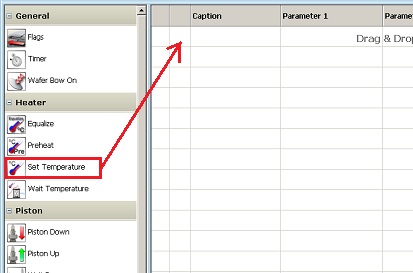
11. A new window is opened where all parameters of the recipe step can be set.
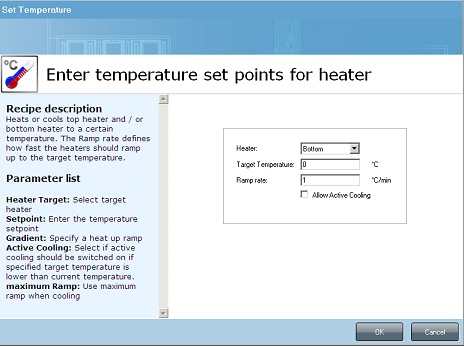
12. Click the "OK" button.
13. The recipe step will be inserted in the recipe (double-click the step to open the settings window if necessary)

14. Click the "Validate" button after the programing, so that errors will be displayed on the bottom of the recipe window.
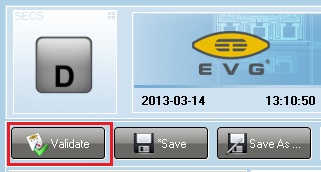
15. Save the recipe created.
1.3 Recipe Step Parameters
- Note: Click the item to show the settings window.
- See Users Manual.
1.3.1 General
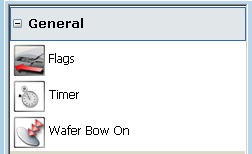
- Flags: pulls the wafer separation flags (spacers) between the top and bottom wafer out.
- Timer: The system keeps the adjusted condition (e.g. temperature) until the time defined in this command is elapsed. The timer has to be specified in hours, minutes, and seconds.
- Wafer Bow On: activates the wafer bow function. If activated, the ceramic pin will contact the wafers first when the piston moves down inside the bond chamber.
1.3.2 Heater
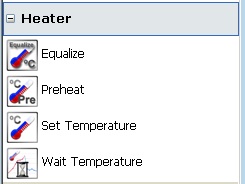
- Equalize: equalizes temperature of top and bottom heater within a certain tolerance before heating.
- Preheat: sets pre-conditioned temperature and tolerance range. Cooling function allows reducing the temperature of a heater which is exceeding the preheating temperature.
- Set Temperature: heats or cools top heater and/or bottom heater to a certain temperature. The Ramp rate defines how fast the heaters should ramp up to the target temperature.
- Wait Temperature: System waits until specified temperature is reached on top and/or bottom heater.
1.3.3 Piston
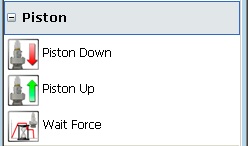
- Piston Down: moves piston of bonder down and applies the specified force to the substrate. The topside heater will contact the substrate.
- Piston Up: moves piston back up to the start position (separated from the substrate). No parameters necessary.
- Wait Force: The system waits until the force specified is reached.
1.3.4 Vacuum System
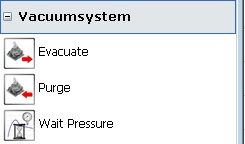
- Evacuate: starts or stops the evacuation of the bond chamber.
- Purge: fills the chamber with different types of gases after evacuation.
- Wait Pressure: The system waits until the specified vacuum is reached in the chamber.
1.3.5 Voltage
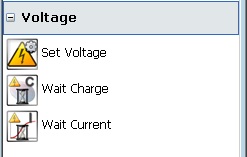
- Set Voltage: enables or disables anodic bonding with specified polarity, voltage set point and current set points.
- Wait Charge: The bond system is accumulating the charge created during the time when voltage is applied. The Wait Charge command allows making sure that all the bonded substrates got exactly the same amount of charge. The charge has to be inserted in mC (Milli Coulomb).
- Wait Current: According to the defined value in the field Target Current, the system will check for the current passing the limit downwards (lower than) or upwards (higher than).
1.4 Copy Recipe
1. Double-click on the recipe which you want to make a copy of, to open it.
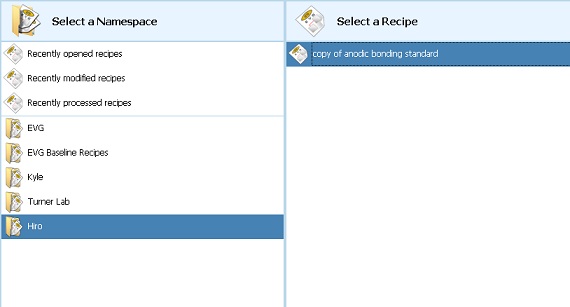
2. You can see the recipe flow diagram, as shown above.
3. Right-click on the "Bond Substrate" box to open the drop-down menu.
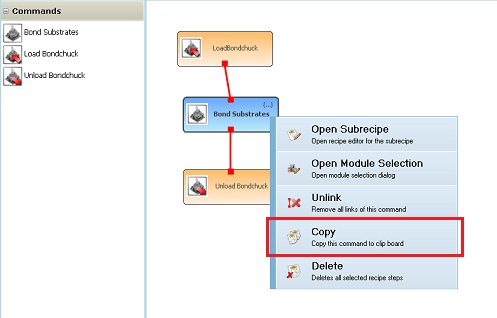
4. Select "Copy" from the drop-down menu.
5. Click "Recipe Management" in the address bar to go back to the "Recipe Management" screen shown above.
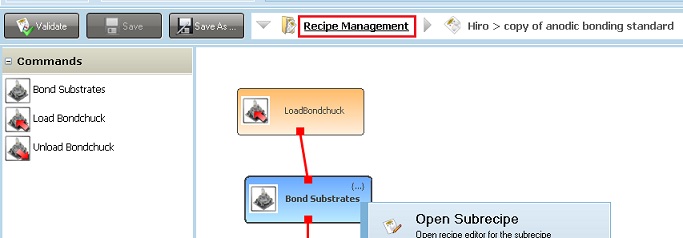
6. Create a new recipe, as shown above.
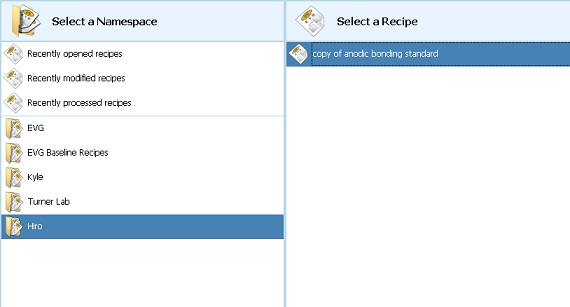
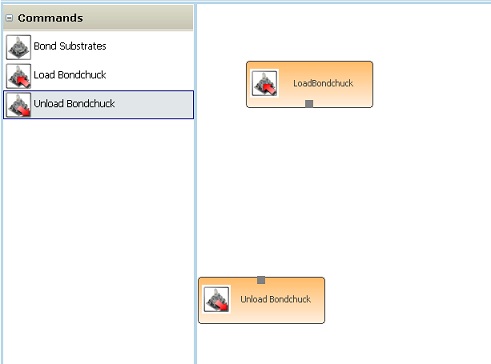
7. After creating and opening the recipe, drag and drop the following recipe commands from the left onto the blank field on the right.
- "Load Bondchuck"
- "Unload Bondchuck"
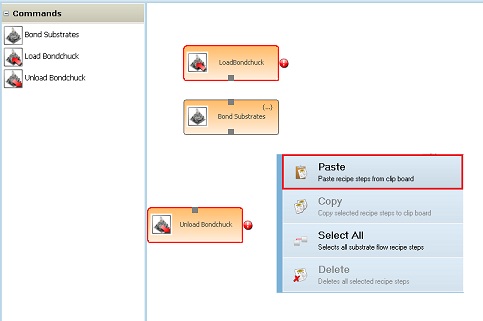
8. Right-click on the recipe flow diagram screen to open the following drop-down menu.
9. Select "Paste".
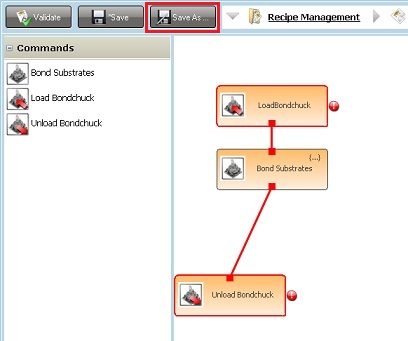
10. Connect the recipe command boxes by dragging and dropping the mouse cursor between the boxes.
11. Save the recipe.
2. Example of Recipe
- Note:
- Maximum piston force for 100 mm diameter quartz:
- 2 kN during the heating or cooling
- 5 kN for in steady state condition (without any temperature change)
- If more force is applied either substrate or pressure disc, breakage (Quartz, Ceramic) may occur.
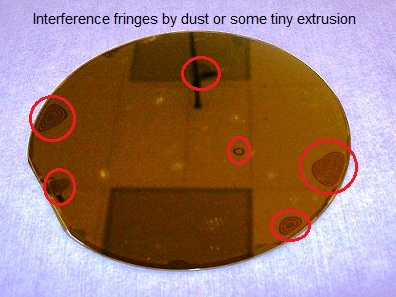
- It is VERY important to remove dusts or some tiny extrusion from the surface before wafer bonding.
- The following picture indicates Au(30 nm)-Au(30 nm) metal thermocompression between glass and Si wafers. The wafers were ultra-sonicated with Acetone and IPA, and were treated with a mixed solution of NH4OH:H2O2:H2O=1:1:4 at 80 ºC for 30 min to make the surfaces smooth. Then, the glass and Si wafer were thermocompressed under the pressure of 3kN at 350 ºC for 1 hour in vacuum immediately after depositing 30 nm thick Au films using thermal evaporation. This process was done in a class 1000 clean room. As can be seen in the picture, interference fringes by dusts or some tiny extrusion are observed.
2.1 Anodic Bonding
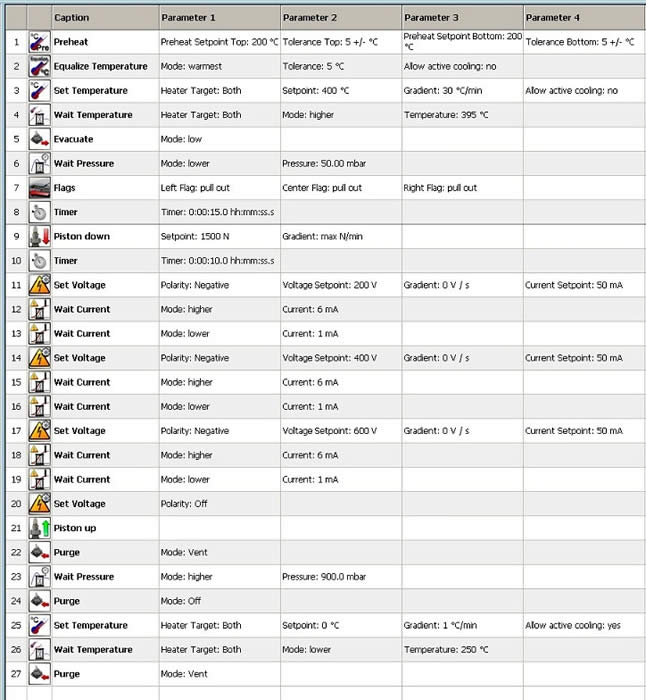
The Recipe of anodic bonding is shown below.
3. Bow Pin
The bow pin would generally be used in the following processes:
- Note: In all cases the bow pin is used, the graphite piece with the flexible center must also be used. If the solid graphite piece is not used with the bow pin and separation flags, wafer breakage can occur):
1. Vacuum molecular bonding:
- The reason for the bow pin during molecular bonding is to initiate the prebond ‘wave’ between the wafers.
- The initiation is generally done from the center so there is a single wave propagating outward (towards the edges of the wafer pair). As a result, no pockets of gas are trapped which will create voiding (non-bonded areas).
2. High alignment accuracy bonding:
- It is rare to use the bow pin for this process because the clamps on the bond chuck (along with the bond glass) should prevent the substrates from moving very much, so the alignment accuracy should be okay without the use of the bow pin.
- This process is that the bow pin would compress the center of the top wafer down, and create a pinch-point between the two wafers, allowing minimal movement of the top wafers.
- Once the bow pin has compressed the center of the wafers together, the flags can be pulled out of the interface (and because the bow pin is holding the wafers together the flags should cause minimal shift in alignment) and then the piston can come down and complete the bonding process.
- This is generally something we do when we are having trouble maintaining the alignment accuracy for a specified process.
- This is more of a trick to try when all else fails during high precision alignment processes than a standard process.


